PJStichins
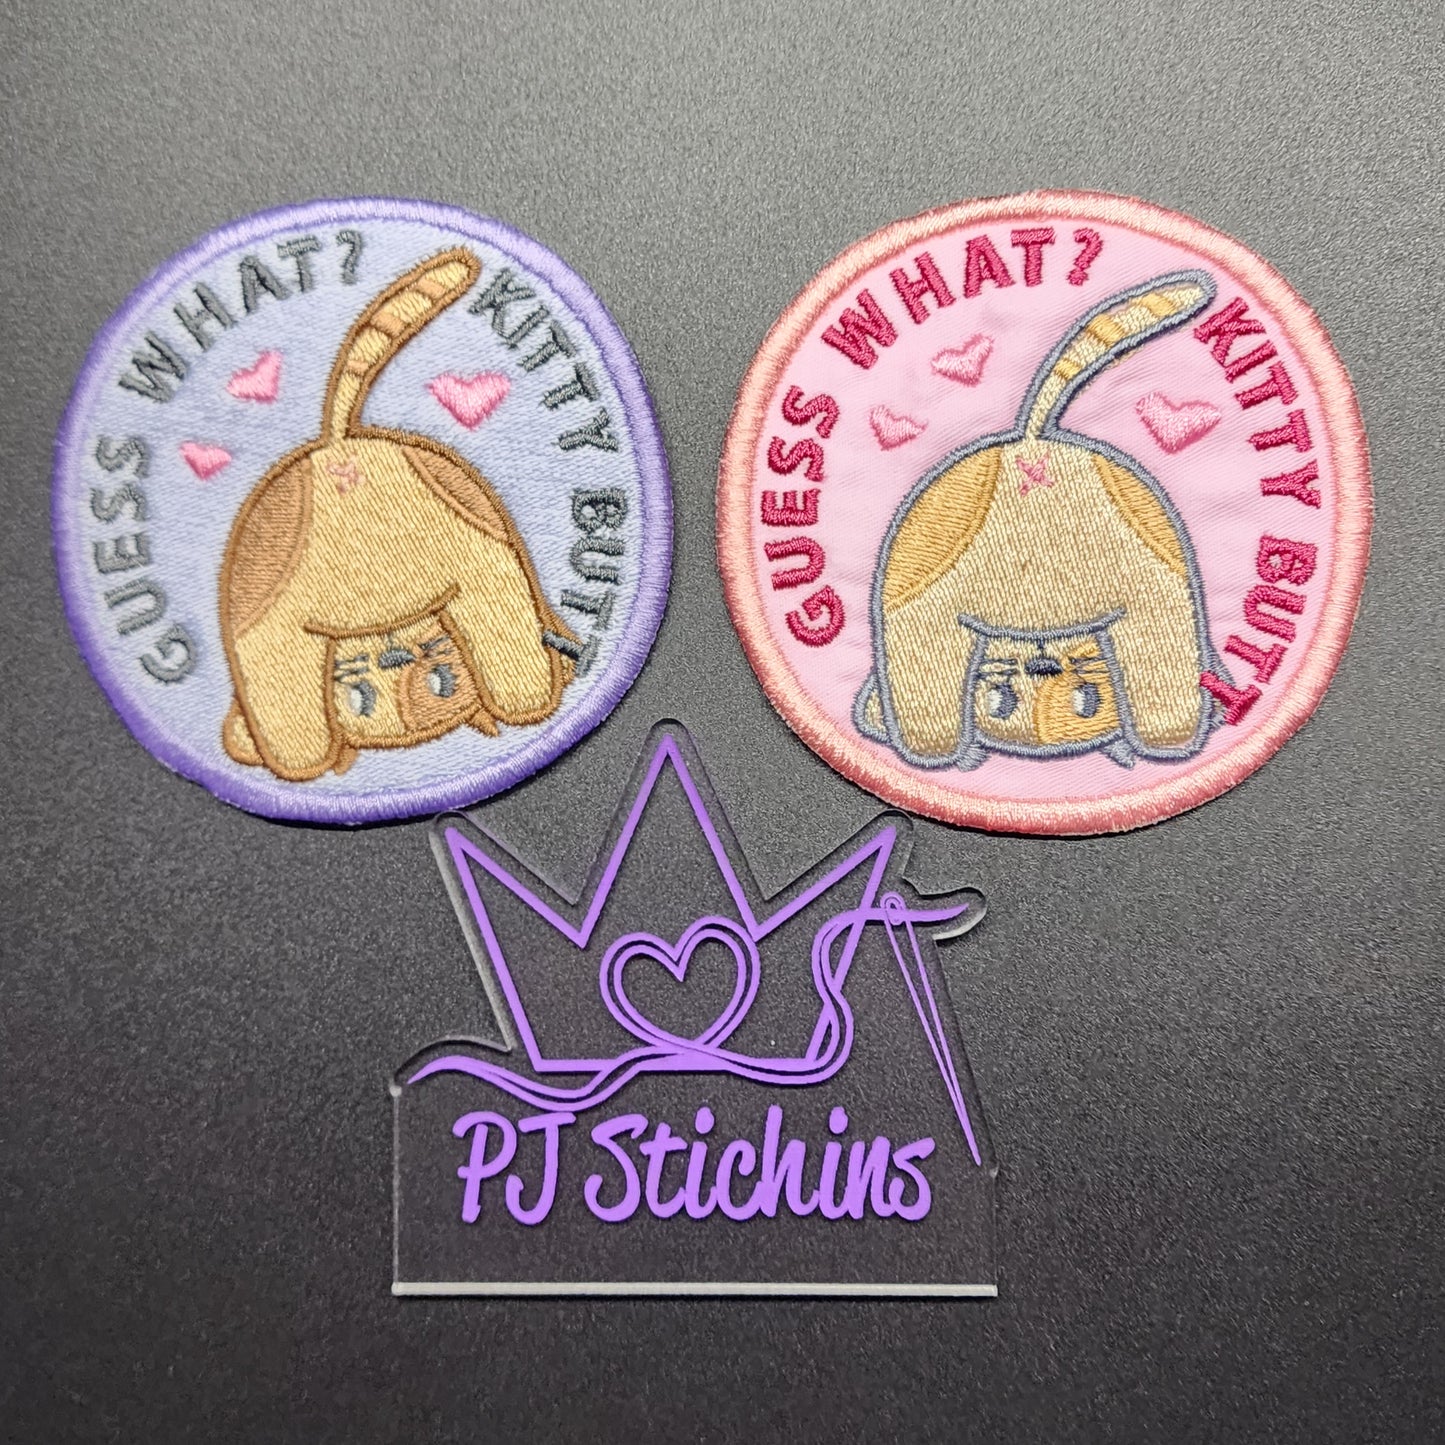
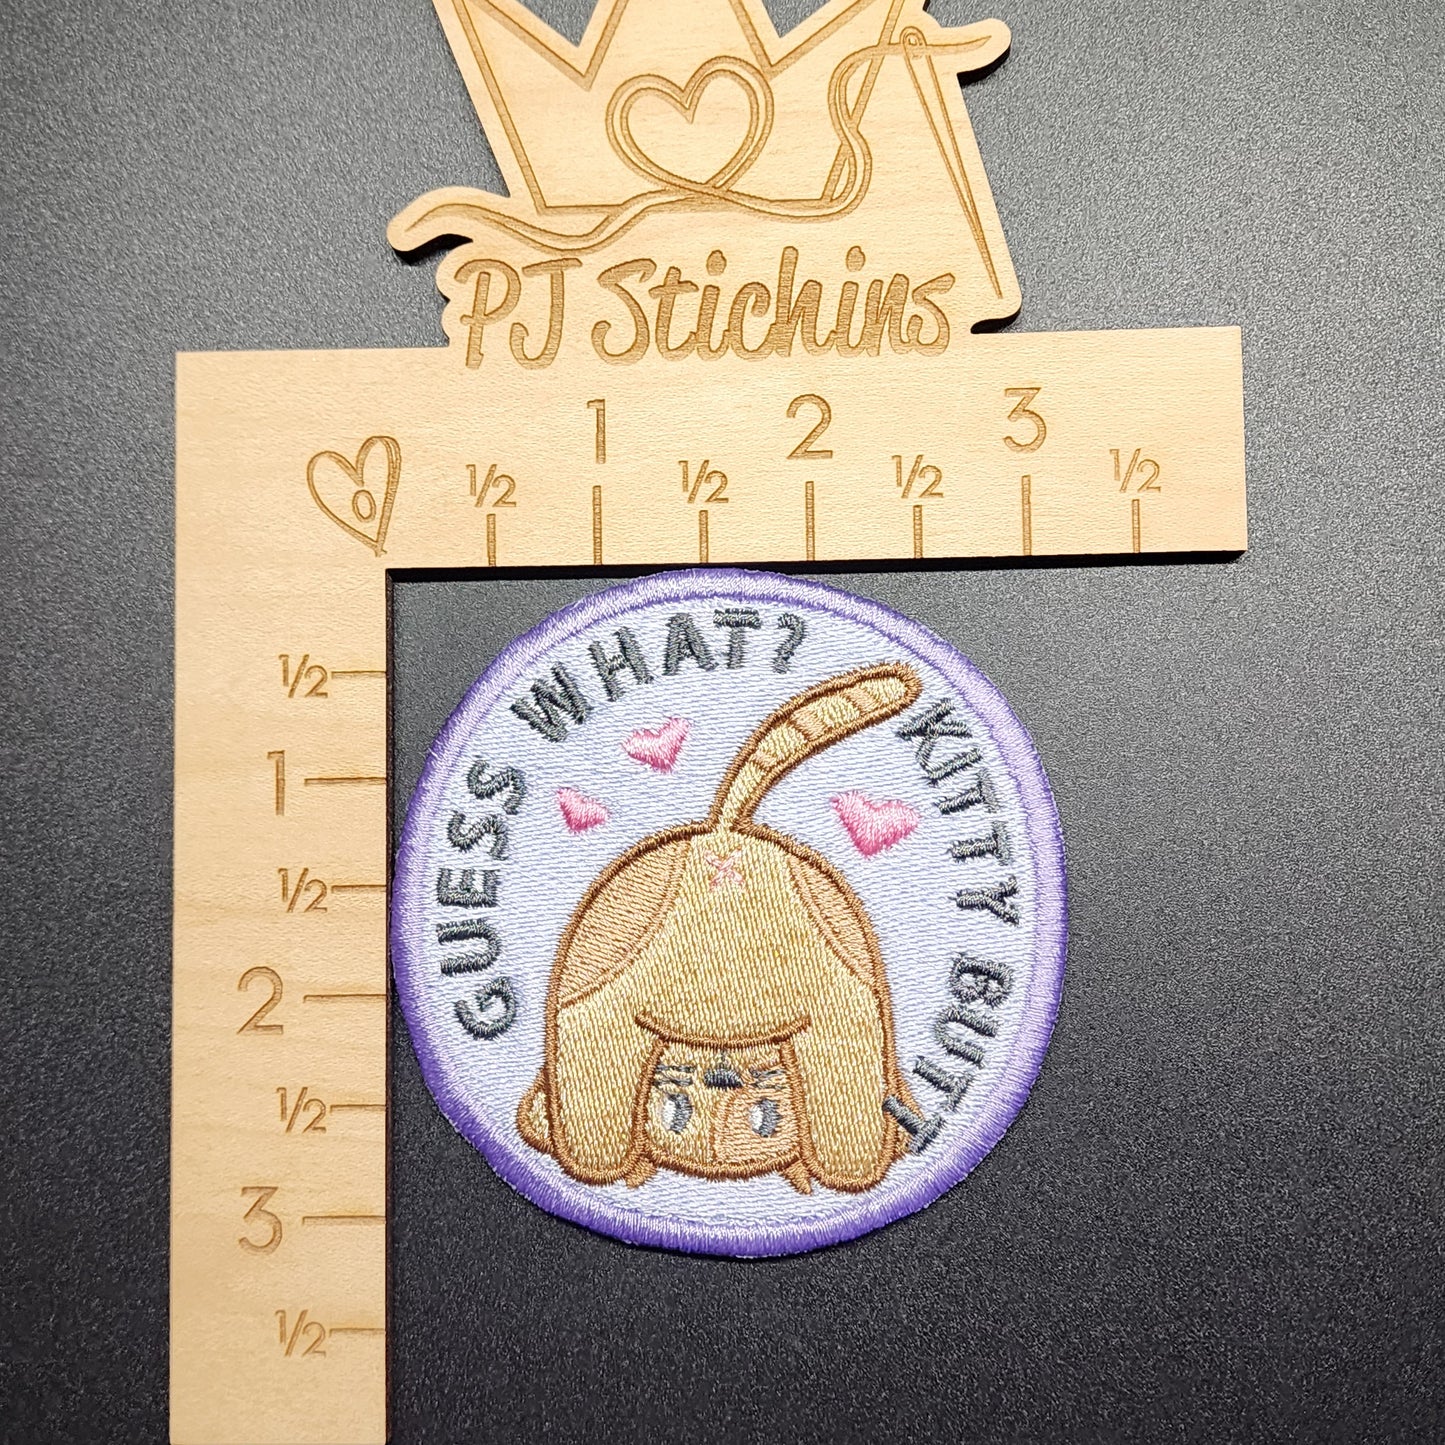
Patch - Cat Butt
Patch - Cat Butt
Regular price
$10.00 USD
Regular price
Sale price
$10.00 USD
Unit price
per
Shipping calculated at checkout.
Couldn't load pickup availability
Ways To Attach This Embroidered Patch to Your Garments
------------------------------------------------------------------------------------------
(Do Not Iron on to Rainwear (Waterproof), Highly Elastic, Rayon, Nylon)
How To Iron on a Patch:
------------------------------
Adhesive will wear off after 20 washes and I highly recommend sewing it on after.
- STEP 1: Set your hand iron at the hottest temperature setting. DO NOT USE STEAM DURING APPLICATION!
- STEP 2: Place your applique or embroidered patch in the desired position and place a pressing cloth (such as a handkerchief, sheet or pillowcase fabric) over top.
- STEP 3: Press the iron straight down for 30-35 seconds with as much constant pressure as possible. NO BACK AND FORTH.
- STEP 4: Turn the garment inside-out and repeat steps 2 & 3.
- STEP 5: Allow the applique or embroidered patch to cool down.
How To Sew a Patch:
------------------------------
- STEP 1: Wash, dry, and iron your clothing before you begin just to remove any wrinkles.
- STEP 2: Get sewing needle and thread, choose the color of the edge of the patch. TIP look for a darker color that's as close as possible OR you can also get a clear thread to make it less visible.
- STEP 3: Position the patch in the correct placement
- STEP 4: Secure your patch in place for sewing TIP. Use a safety pink or straight pink to hold the patch in place.
- STEP 5: Cut the piece of thread no longer than 18 inches (45cm). Thread the needle and tie a knot at the end of the thread.
- STEP 6: Begin threading the needle through your fabric and the patch, sew with a straight stitch pattern, continue stitching the patch,
- STEP 7: Knot the thread, when you have sewn all the way around the edge of the patch, loop the thread and pull the needle through to tie off your knot.
How To Glue a Patch:
------------------------------
Types of glues you can use OR any waterproof fabric glue will work.
- Elmer’s E431 Crafting Glue
- E6000 237032 Craft Adhesive
- STEP 1: First, lay your fabric nice and flat.
- STEP 2: Second, apply a layer of glue to the area of clothing you want to place the patch. Then apply a layer to the back of the patch.
- STEP 3: Third, make sure when you put the patch on the fabric that all glue areas matchup and there is no cloth with glue sticking out from the patch.
- STEP 4: Fourth, add weight. Make sure it is enough to press the patch and fabric together. You need firm pressure to make sure the glued areas adhere to each other.
- STEP 5: Fifth, let dry and do not wash for several days. To get the best bond you need to apply glue to both the patch and the fabric. Doing one side only may leave weak spots that your washing machine and dryer can exploit.
TIP 6: Do not stretch the fabric that you are glueing to the patch too. If one little area of the fabric does stretch, then you lose the look of the garment.
View full details
------------------------------------------------------------------------------------------
(Do Not Iron on to Rainwear (Waterproof), Highly Elastic, Rayon, Nylon)
How To Iron on a Patch:
------------------------------
Adhesive will wear off after 20 washes and I highly recommend sewing it on after.
- STEP 1: Set your hand iron at the hottest temperature setting. DO NOT USE STEAM DURING APPLICATION!
- STEP 2: Place your applique or embroidered patch in the desired position and place a pressing cloth (such as a handkerchief, sheet or pillowcase fabric) over top.
- STEP 3: Press the iron straight down for 30-35 seconds with as much constant pressure as possible. NO BACK AND FORTH.
- STEP 4: Turn the garment inside-out and repeat steps 2 & 3.
- STEP 5: Allow the applique or embroidered patch to cool down.
How To Sew a Patch:
------------------------------
- STEP 1: Wash, dry, and iron your clothing before you begin just to remove any wrinkles.
- STEP 2: Get sewing needle and thread, choose the color of the edge of the patch. TIP look for a darker color that's as close as possible OR you can also get a clear thread to make it less visible.
- STEP 3: Position the patch in the correct placement
- STEP 4: Secure your patch in place for sewing TIP. Use a safety pink or straight pink to hold the patch in place.
- STEP 5: Cut the piece of thread no longer than 18 inches (45cm). Thread the needle and tie a knot at the end of the thread.
- STEP 6: Begin threading the needle through your fabric and the patch, sew with a straight stitch pattern, continue stitching the patch,
- STEP 7: Knot the thread, when you have sewn all the way around the edge of the patch, loop the thread and pull the needle through to tie off your knot.
How To Glue a Patch:
------------------------------
Types of glues you can use OR any waterproof fabric glue will work.
- Elmer’s E431 Crafting Glue
- E6000 237032 Craft Adhesive
- STEP 1: First, lay your fabric nice and flat.
- STEP 2: Second, apply a layer of glue to the area of clothing you want to place the patch. Then apply a layer to the back of the patch.
- STEP 3: Third, make sure when you put the patch on the fabric that all glue areas matchup and there is no cloth with glue sticking out from the patch.
- STEP 4: Fourth, add weight. Make sure it is enough to press the patch and fabric together. You need firm pressure to make sure the glued areas adhere to each other.
- STEP 5: Fifth, let dry and do not wash for several days. To get the best bond you need to apply glue to both the patch and the fabric. Doing one side only may leave weak spots that your washing machine and dryer can exploit.
TIP 6: Do not stretch the fabric that you are glueing to the patch too. If one little area of the fabric does stretch, then you lose the look of the garment.


